Last updated August 4, 2026 · 3 min read
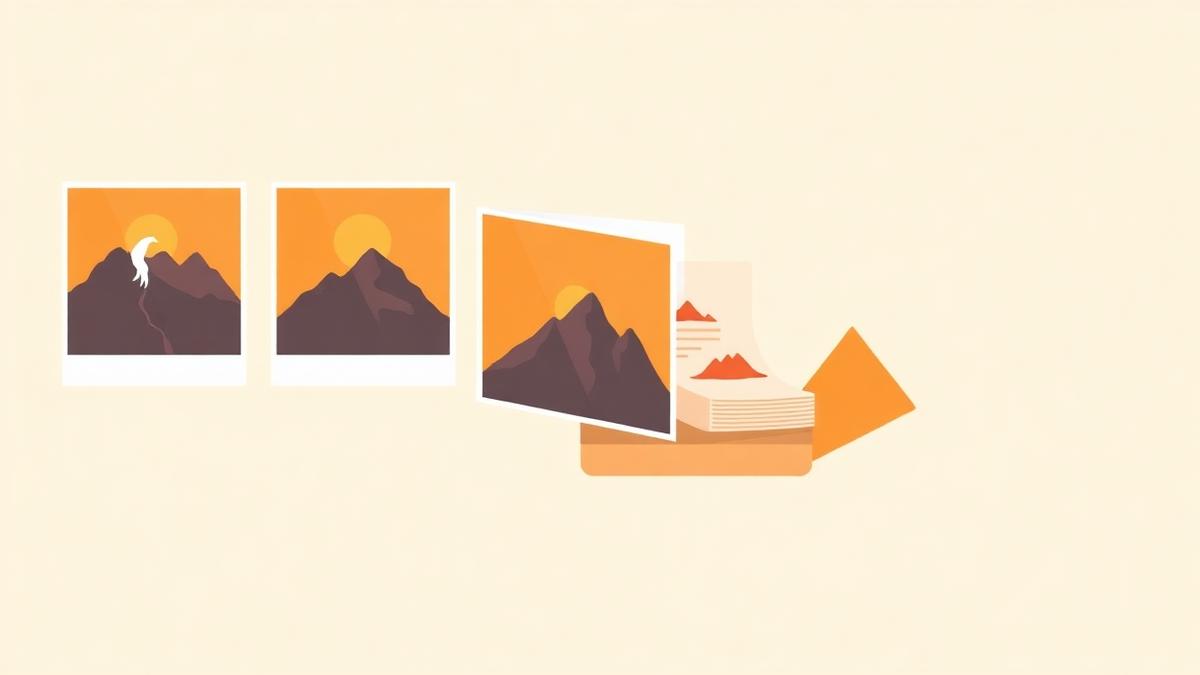
Photos are convenient to capture and awkward to submit. An expenses claim with eleven separate JPGs, an application with photographed certificates, or a landlord asking for meter readings all work better as a single PDF with pages in a sensible order.
This guide covers turning images into a properly formatted PDF — page size, orientation, margins and quality — using the free JPG to PDF tool, which converts everything locally in your browser.
When should you convert images to PDF?
- Submitting receipts or invoices as one attachment.
- Sending photographed documents that must print at a consistent size.
- Assembling a simple photo portfolio or property inspection record.
- Combining screenshots into a step-by-step record of an issue.
Benefits
- One file instead of a dozen attachments.
- Fixed page order, so the reader sees the sequence you intended.
- Consistent, predictable printing across devices.
- PDF is accepted by portals and systems that reject bare image files.
Before you start
- Gather your JPG or PNG images in one place.
- Crop out surrounding desk and shadow if you photographed paper documents.
- Decide on a page size — A4 or Letter for printing, Auto to preserve each image's own shape.
How to convert JPG to PDF step by step
Step 1 — Upload your images
Open the JPG to PDF tool and add one or more images. Each appears as a thumbnail card.
Step 2 — Reorder and rotate
Drag cards into the order you want and rotate any image that came in sideways. This is far easier now than fixing page order later.
Step 3 — Choose page size and orientation
A4 or Letter give uniform pages ideal for printing. Auto sizes each page to its image, avoiding white bars — useful for screenshots and mixed aspect ratios.
Step 4 — Set margins and quality
A small margin looks more professional and protects content from being trimmed when printed. Higher quality means a larger file; medium is enough for receipts and everyday documents.
Step 5 — Generate and download
Create the PDF, then open it and check page order and legibility before sending.
Common mistakes
- Uploading uncropped photos with half a desk visible around the document.
- Using maximum quality for twenty photos and producing a file too large to email.
- Forgetting to rotate a sideways image before generating the PDF.
- Choosing A4 for tall screenshots, which leaves large empty bands — use Auto instead.
Troubleshooting
| Problem | Likely cause | What to do |
|---|---|---|
| An image will not upload | Unsupported format such as HEIC | Export or convert it to JPG or PNG first |
| The PDF is very large | Many high-resolution photos at top quality | Lower the quality setting or run Compress PDF |
| Pages have white bars | Fixed page size with mismatched aspect ratios | Switch to Auto page size |
| Photos look dark or skewed | Poor lighting or camera angle | Retake straight on in even light, then convert |
| Order is wrong | Cards were not reordered | Drag the cards, or fix later with Rearrange PDF Pages |
| The browser slows down | Dozens of large photos at once | Convert in batches and merge the resulting PDFs |
Best practices
- Rename images before uploading so they arrive in the right order.
- Use Auto page size for screenshots, A4 or Letter for anything destined for print.
- Keep margins small but non-zero.
- Check the finished PDF at 100% zoom to confirm small print is readable.
Security and privacy notes
Conversion happens in your browser, so photographs of ID documents, bank letters and medical paperwork are never uploaded. Note that photos may contain EXIF metadata such as location; converting to PDF does not guarantee removal, so strip metadata beforehand if that matters to you.
Summary
Upload, order, rotate, choose page settings and generate. To go the other way and pull images back out of a PDF, follow the PDF to JPG guide.
Pro tip
Auto page size keeps each image at its native aspect ratio with no white bars.
Frequently asked questions
- Which image formats are supported?
- JPG and PNG are the common choices. Formats such as HEIC from newer phones should be exported to JPG first.
- Can I control page size?
- Yes. Choose a standard size such as A4 or Letter, or Auto to match each page to its image's aspect ratio.
- Will converting reduce image quality?
- Only if you choose a lower quality setting. Higher quality preserves detail at the cost of file size.
- How many images can I convert at once?
- There is no fixed limit, but dozens of large photos are best handled in batches for smooth performance.
- Are my photos uploaded?
- No. The conversion runs entirely in your browser.
- Can I reorder images after uploading?
- Yes. Drag the cards into any order before generating the PDF.
- Why is my PDF larger than the images?
- PDFs add page structure, and high quality settings preserve full-resolution images. Lower the quality or compress the result.
Turn receipts, photos and screenshots into one tidy PDF, with full control over page size and quality.
Open JPG to PDFAbout this guide
- Written by
- PDFCraft Team
- Reviewed by
- PDFCraft Editorial Team
- Last updated
PDFCraft builds free, browser-based PDF tools. This guide reflects how our team works with documents day to day and is reviewed whenever the underlying tool changes.